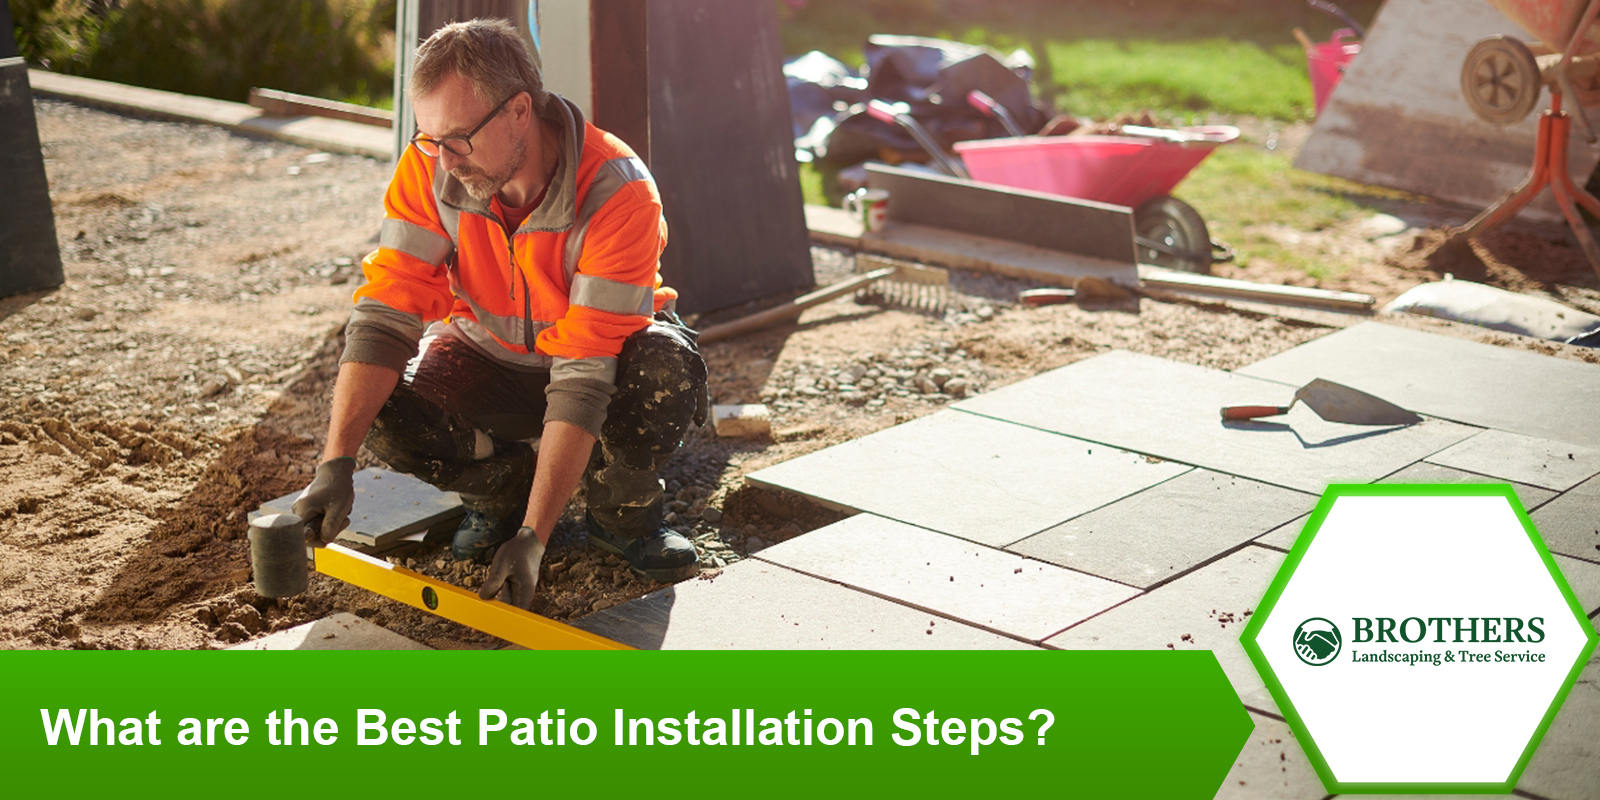
Have you ever wondered how to transform your backyard into a beautiful retreat? Patio installation steps can be the gateway to an outdoor oasis. Whether you’re planning to host summer barbecues or enjoy quiet mornings with a cup of coffee, the right patio can significantly enhance your outdoor living space. In this post, we’ll walk through the essential steps to ensure your patio installation is successful, ensuring you get the most out of your investment. Stay tuned as we break down the process into simple, actionable steps that can help turn your vision into reality.
Step-by-Step Guide to Perfect Patio Installation
Installing a patio can elevate your backyard into a functional and appealing outdoor space. Whether you take the DIY route or hire professionals, understanding the key steps involved can help ensure a smooth and successful installation.
Choosing the Right Materials
Selecting the proper materials for your patio impacts not only its look but also its durability and maintenance needs:
- Concrete Patios: Noted for their durability and cost-effectiveness, concrete patios offer versatility with finishes like stamped designs that mimic more costly materials.
- Pavers: Popular for their aesthetic value and ease of repair, pavers come in various colors and shapes, allowing for custom design patterns.
- Natural Stone: For a high-end, timeless appearance, consider natural stone. Materials like slate, granite, or limestone, though expensive, offer remarkable durability and unique aesthetics.

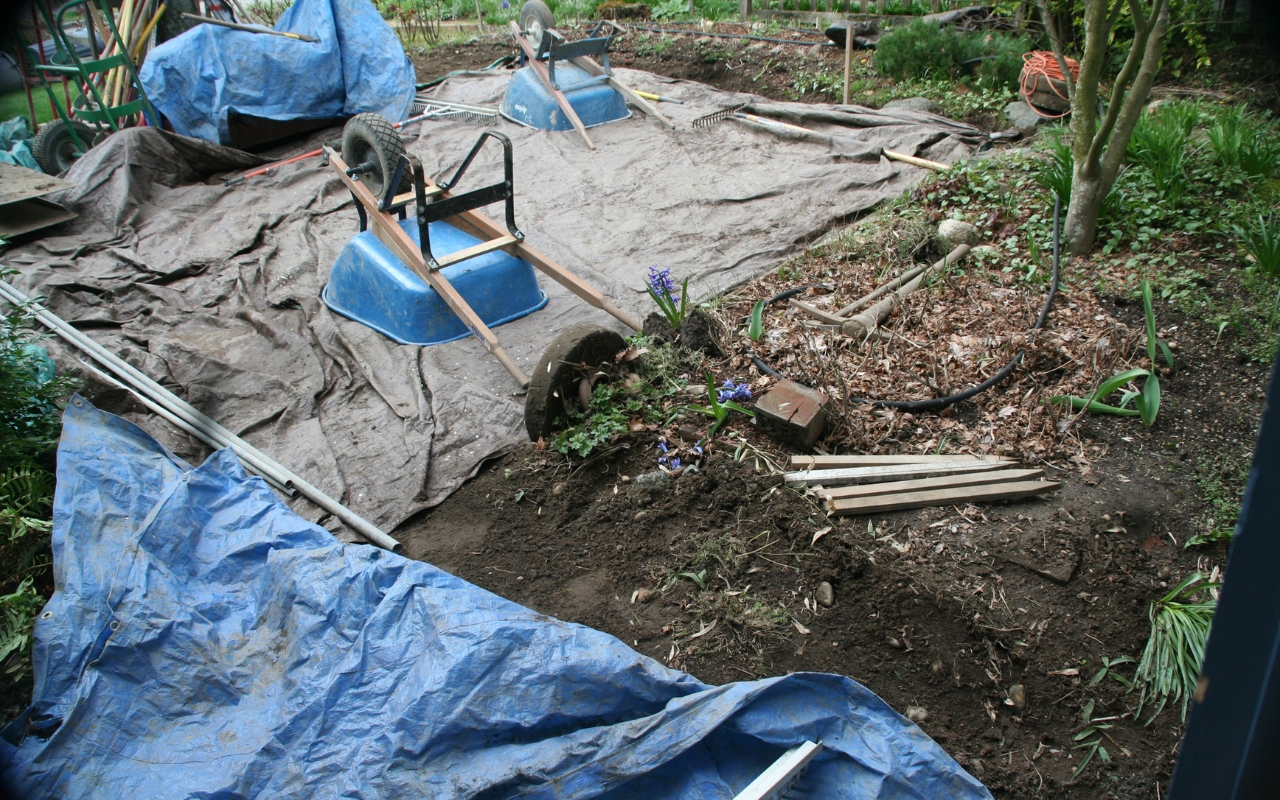
Preparing the Site
Effective site preparation is crucial to prevent issues such as uneven settling or water damage:
- Clear and Level the Area: Remove all grass, roots, and debris. Ensure the ground is level to prevent water from pooling, which can cause structural problems.
- Excavation: Dig to the appropriate depth—typically about 7 to 8 inches—to accommodate the base material and the thickness of your patio elements.
- Base Installation: Lay down a layer of crushed stone and firmly compact it. Add a layer of sand on top, leveling it meticulously to ensure a solid base.
Laying the Foundation
The foundation is the most labor-intensive part but crucial for a stable patio:
- Setting the Base: Start at one corner and lay your material snugly. Use a level to ensure each piece aligns evenly with the next.
- Securing Materials: Gently tap each piece into place with a rubber mallet. For specific shapes, measure and cut the materials using a masonry saw.
Finishing Touches
Final adjustments are essential for the patio’s aesthetics and longevity:
- Filling Joints: For pavers, spread fine sand over the patio and sweep it into the joints. This secures the pavers together and prevents shifting.
- Sealing: Apply a sealant to protect the patio from moisture and stains, crucial for natural stone and concrete surfaces.
Maintenance Tips
Maintaining your patio regularly ensures it remains pristine:
- Routine Cleaning: Regularly sweep your patio to eliminate dirt and debris. For thorough cleaning, consider a pressure washer or a vinegar solution for stubborn stains.
- Weed Prevention: Use a pre-emergent herbicide between pavers or stones to prevent weeds from emerging and disrupting your patio’s arrangement.
- Check for Settlement: Periodically inspect your patio for any signs of settling or movement, particularly after heavy rains or freeze-thaw cycles.
By adhering to these detailed steps, you ensure that your patio installation is executed correctly, providing a durable and attractive addition to your home that you can enjoy for many years.

Ready to Enjoy Your New Patio?
Installing your patio is just the beginning! You now have the perfect spot to relax, entertain, and savor the outdoors. If you need assistance or have questions about patio installation steps, don’t hesitate to contact us. Our team is eager to help you realize your outdoor living dreams. Reach out today and start making the most of your backyard!